
How to Lay Instant Lawn Correctly: A Step-by-Step Guide for Gauteng Homeowners
A new lawn transforms a garden overnight. Instant lawn provides Gauteng homeowners with that transformation in just a few hours, rather than waiting months. But a rushed installation can fail within weeks. This guide from Turfgreen Group shows you how to lay instant lawn correctly, from soil prep to first mow.
Why Instant Lawn Suits the Gauteng Climate
Gauteng’s Highveld climate brings hot, wet summers and dry, frosty winters. Warm-season grasses like Kikuyu and LM Berea thrive in these conditions. They root quickly during summer rainfall and handle Highveld heat well. Summer thunderstorms typically deliver useful rainfall across the region. This natural watering supports new turf during establishment. Winter installations are possible too, but they root more slowly in cooler temperatures. Water availability is still a factor to plan around. Gauteng has faced intermittent supply pressure and conservation appeals from bulk suppliers in recent years. Check current guidance from Rand Water’s restriction updates before you schedule a big watering programme. Municipal by-laws on outdoor watering also apply, so review official municipal water-saving requirements beforehand.
Choosing the Right Grass Type
Not every lawn suits every garden. Grass selection depends on sunlight, foot traffic, and soil type.
Kikuyu handles full sun and heavy use well. It’s the go-to choice for family gardens, pets, and open play areas. It establishes fast during warm months and recovers quickly from damage.
LM Berea suits shaded or partially shaded gardens. It has a finer, softer texture than Kikuyu. Homeowners with tree cover or north-facing walls often prefer it.
Some Gauteng properties need a mix of both. A site assessment before ordering turf prevents costly mismatches later.
Step 1: Assess and Test Your Soil
Good soil is the foundation of a healthy lawn. Skipping this step is the top reason new lawns fail. Start by checking your soil’s pH level. Most lawn grasses prefer a pH between 6 and 7. Highveld soils vary widely, so testing removes the guesswork. You can test at home using a simple kit, or send a sample to a lab. This step-by-step soil pH testing guide walks through the basic home method. For larger properties, a professional soil analysis service gives more precise nutrient and structure data. Many older Gauteng suburbs have compacted, clay-heavy soil. This restricts drainage and root growth. If your soil feels hard or waterlogs easily, plan for extra conditioning.
Step 2: Clear and Prepare the Ground
Remove all existing grass, weeds, rubble, and roots. Anything left behind competes with new turf for nutrients and space. Dig or till the soil to a depth of at least 100mm to 150mm. This loosens compacted layers and improves drainage. Break up large clumps as you go. Slope the finished surface gently away from your house. This prevents water pooling near your foundation. Good drainage matters even more during Gauteng’s intense summer storms.
Step 3: Improve and Level the Soil
Work compost or well-rotted organic matter into the topsoil. This boosts fertility and improves soil structure, especially in clay-heavy areas. Rake the area until the surface is smooth and even. Use a straight edge or spirit level to spot dips and high points. Fix them before laying turf, not after. The finished soil level should sit slightly below paving, driveways, or pathways. This stops turf edges from scalping under a mower. Lightly compact the soil using a garden roller or by walking over it evenly. This creates a firm, stable base without over-packing the soil.
Step 4: Apply a Starter Fertiliser
A phosphorus-rich starter fertiliser encourages fast root development. Apply it evenly across the prepared soil before turf arrives. Water the soil lightly after fertilising. This helps it settle and gives the turf a moist bed to root into immediately.
Step 5: Order and Handle Your Turf Carefully
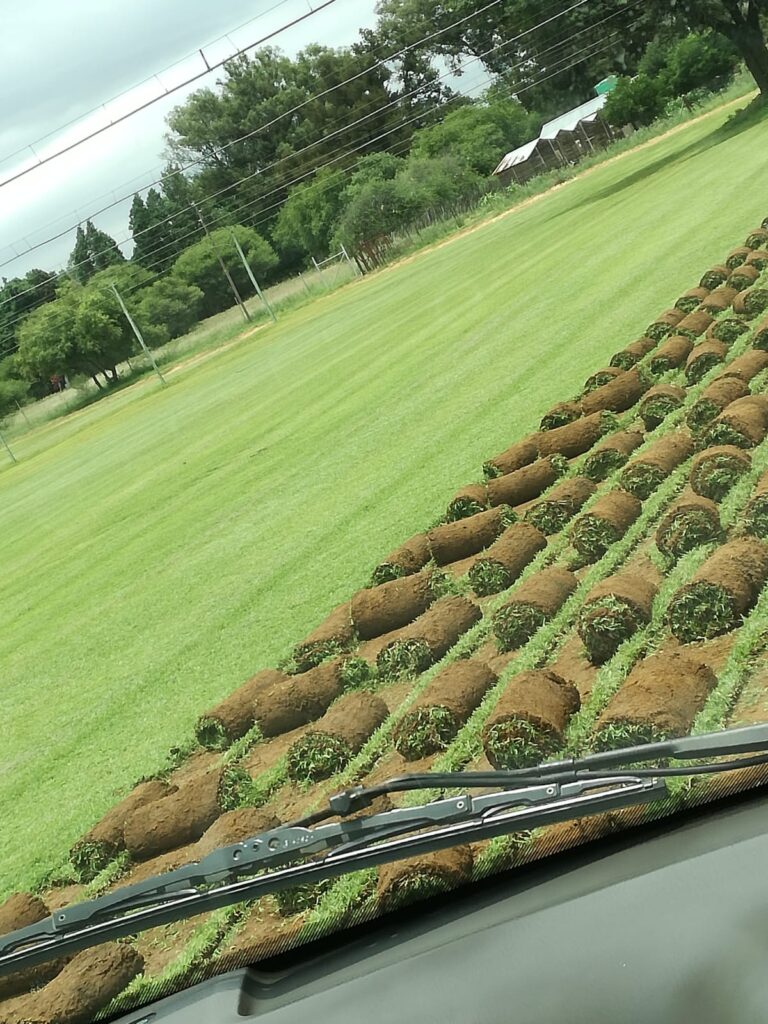
Order instant lawn only once your site is fully prepared. Fresh-cut turf should go down within 24 to 48 hours of harvesting. Keep turf rolls in the shade if there’s any delay before laying. Stacked, unlaid turf heats up quickly and can die within hours in summer.
Step 6: Lay the Turf Correctly
Start along a straight edge, such as a path, wall, or driveway. This keeps your rows aligned and reduces wastage. Lay rolls tightly against each other. Avoid gaps between pieces, since gaps invite weeds and drying edges. Stagger the joins between rows, similar to brickwork. This creates a stronger, more natural-looking surface. Use a sharp spade or turf knife to trim edges around beds, trees, and borders. Press each piece down firmly to ensure full soil contact. Air pockets beneath turf slow down root establishment significantly.
Step 7: Roll and Water Immediately
Once an area is laid, roll it lightly to press the roots into the soil. This step improves contact and levels minor unevenness. Water thoroughly within 30 minutes of laying. The goal is to soak both the turf and the soil beneath it. Dry roots at this stage can cause irreversible damage.
Step 8: Manage Establishment Watering
The first two to three weeks are the most critical period. Roots are actively forming and need consistent moisture to survive. Water daily during the first week, ideally early morning or late afternoon. This reduces evaporation loss during the hottest part of the day. Reduce watering frequency gradually as roots strengthen over the following weeks. Watch local watering rules closely during this phase. Some municipalities allow short-term exemptions for new lawn establishment. It’s worth asking your local water provider before you start, since approaches to new-lawn watering exemptions vary between regions and may require an application.
Step 9: Avoid Foot Traffic Early On
Keep pets, children, and furniture off the new lawn for at least two to three weeks. Foot traffic disturbs roots before they’ve anchored properly. A few light garden stakes or temporary tape can help mark the area. This is especially useful for households with young kids or dogs.
Step 10: First Mow and Ongoing Care
Wait until the grass has rooted firmly before the first mow. You’ll know it’s ready when the turf resists a gentle tug. Set your mower blade high for the first cut. Never remove more than a third of the blade length at once. This protects young roots from stress. After establishment, maintain a regular mowing, feeding, and watering schedule suited to your grass type. Kikuyu and LM Berea both respond well to seasonal feeding, especially at the start of spring growth.
Common Mistakes to Avoid
Several errors account for most instant lawn failures in Gauteng gardens.
- Skipping soil preparation to save time or cost.
- Laying turf on soil that hasn’t been levelled properly.
- Leaving gaps between turf rolls.
- Underwatering during the first two weeks.
- Allowing heavy foot traffic too soon.
- Ignoring local watering restrictions during establishment.
Avoiding these mistakes gives your new lawn the best possible start.
Get Expert Help From Turfgreen Group
Laying instant lawn correctly takes planning, the right materials, and careful execution. Turfgreen Group offers site assessments, soil preparation, and professional turf installation across Gauteng. Whether you’re planting Kikuyu for a busy family garden or LM Berea for a shaded courtyard, our team ensures every roll is laid for long-term success.
Contact Turfgreen Group today for a free quote on instant lawn installation for your Gauteng property.